Observium is a neat PHP based system monitoring platform that I’ve been using lately, it’s fairly easy to install (Observium + Nginx/PHP-FPM install guide Coming Soon!) and provides a large variety of easy to read graphs of system information.
Observium is an autodiscovering SNMP based network monitoring platform written in PHP which includes support for a wide range of network hardware and operating systems including Cisco, Windows, Linux, HP, Dell, FreeBSD, Juniper, Brocade, Netscaler, NetApp and many more. From the Official Observium Wiki
After the initial task of Observium host installation and configuration, you need install and configure SNMP daemon on all of your client servers, aka all the servers that you want to monitor. This can be quite annoying if you’re monitoring more then a handful of servers, thus I have taken the time to write bash script for installation of the SNMP daemon on a client server.
Script Usage:
This script has been tested on Debian 6/7, Ubuntu 12.04/13.10 and CentOS 5.10/6.5/7.0 – All other distributions are unsupported at this time.
wget www.sonicboxes.com/scripts/observium-client.sh
chmod 755 observium-client.sh
./observium-client.sh

EXAMPLE:
[root@server ~]# ./observium-client.sh myservers obv@sonicboxes.com
Please enter where the server is physically located: New York
When you run the script, you need to define your community and your contact email. You will be prompted for the servers geographical location, enter the proper name of the city for Observium’s map to function correctly.
SNMP Community: An SNMP community is essentially text string that functions as a password. It authenticates Observium to your client server and stops anyone else from being able to poll your SNMP daemon and receiving detailed information about the health of your system. Your community does not need to be unique for every server, you can use the same community for all of your servers, all servers in a specific geographical location, it’s entirely up to you.
Adding a client to Observium: When you’ve finished installing the SNMP daemon on all of the servers you wish to monitor, it’s time to set them up in Obserivum. You’ll want to login to your Observium dashboard, hover your mouse over Devices, click Add Device.
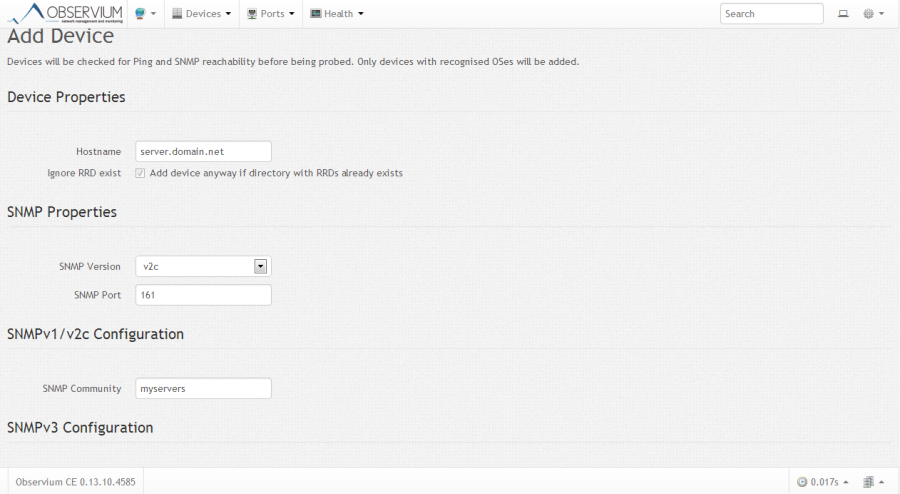
For hostname enter the fully qualified domain name of the server you wish to monitor, it must be a domain you cannot use an IP address (Note: Observium does not support AAAA records), then enter the community you defined while installing the client. All other options may be left in their default setting, scroll down to the bottom of the page and click Add Device.
If it was successfully added you should see a green box with a check next to it that says something similar to this: Device added (id = 21). If you configured your cronjob properly, when you installed your Observium master, it will take about 5 minutes for your device to be polled and added to the map.
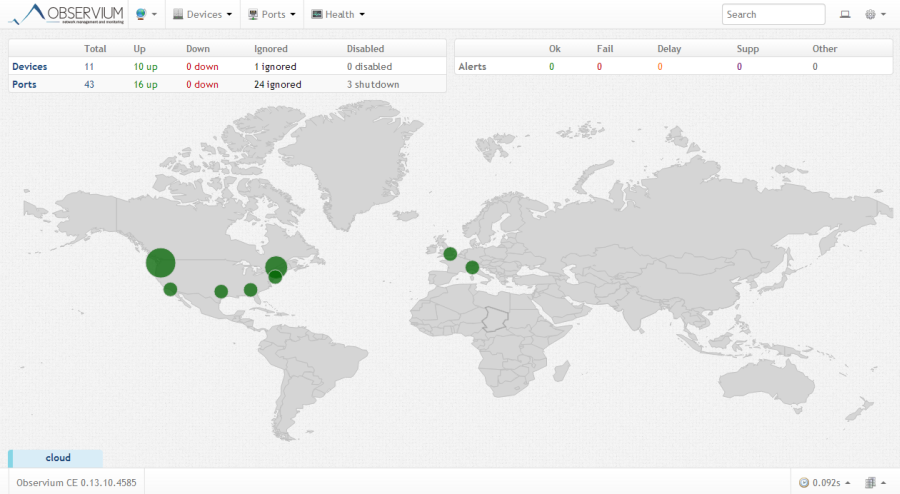
Repeat these steps for every server you wish to monitor and soon you will have a nice map showing you the health of all of your servers.
Leave a Reply to Joel Cancel reply