The process of installing the Omada Software Controller on a Raspberry Pi is reasonably straightforward, with a few quirks due to the platform not being officially supported by TP-Link Omada.
Requirements
Raspberry Pi 4(or 5) with 4GB+ Memory
Compatible TP-Link Omada Router(ER605)
SD Card Setup
Download the Ubuntu Server 24.04 image.
Write the Ubuntu image to your MicroSD card.
Raspberry Pi Imager – This is my preferred tool for setting up a Raspberry Pi OS image.
The Raspberry Pi Imager tool lets you pre-configure the Hostname, Login Credentials, SSH Keys, and other options not available with standalone image writing tools like BalenaEtcher.
Balena Etcher – Popular cross-platform tool for writing images to USB/SD Cards.
USB Imager – Lightweight Open Source image writing tool; works with standard user-level accounts in Windows.
Raspberry Pi Setup
Once you have configured your MicroSD card with the Ubuntu Server image, login to the Raspberry Pi via SSH, or the local console. If you didn’t use the Raspberry PI Imager to pre-configure your login details, you’ll have to set a new password after the first login(Default login is ubuntu/ubuntu).
Double-check that all unattended upgrades are complete.
Before we begin, double-check that any unattended upgrades are complete.
Update existing packages:
sudo apt-get update
sudo apt-get -yV upgrade
Install Utilities
sudo apt install nano wget screen curlInstall Java:
sudo apt install openjdk-17-jre-headless
sudo apt install jvsc
Fix Java Home error:
ln -s /usr/lib/jvm/java-17-openjdk-arm64 /usr/lib/jvm/default-javaInstall MongoDB 4.x
MongoDB changed their architecture in 4.19 release, making further versions incompatible with the Raspberry Pi.
To avoid compatibility issues, we’ll be installing the older release of MongoDB 4.18 manually:
wget https://repo.mongodb.org/apt/ubuntu/dists/focal/mongodb-org/4.4/multiverse/binary-arm64/mongodb-org-server_4.4.18_arm64.deb
sudo dpkg -i mongodb-org-server_4.4.18_arm64.deb
You may get an error that Package libssl1.1 is not installed:
 mongodb-org-server depends on libssl1.1 (>= 1.1.0); however:
  Package libssl1.1 is not installed.
If this happens, install the missing package manually, and then repeat the install for MongoDB:
wget http://launchpadlibrarian.net/741613665/libssl1.1_1.1.1f-1ubuntu2.23_arm64.deb
sudo dpkg -i libssl1.1_1.1.1f-1ubuntu2.23_arm64.deb
sudo dpkg -i mongodb-org-server_4.4.18_arm64.deb
Install Omada Network Controller
Now that OpenJDK & MongoDB are installed, we’re ready to Install the Omada Network Controller.
Download the latest Omada x64.deb package from the Omada software center.
As of July 26 2025, the latest version is Omada_SDN_Controller_v5.15.24.18_linux_x64.deb
sudo dpkg -i omada_v5.15.24.18_linux_x64_20250630184434.debIt may take a few moments to complete the installation. The network controller will start up automatically as part of the install process.
Installation Example Output:
root@omadapi:~# dpkg -i omada_v5.15.24.18_linux_x64_20250630184434.deb
Selecting previously unselected package omadac.
(Reading database ... 59655 files and directories currently installed.)
Preparing to unpack omada_v5.15.24.18_linux_x64_20250630184434.deb ...
JRE 17.0.15 is greater than 8 and JSVC 1.0.15 is less than 1.1.0
Unpacking omadac (5.15.24.18) ...
Setting up omadac (5.15.24.18) ...
Install Omada Controller succeeded!
==========================
current data is empty
Omada Controller will start up with system boot. You can also control it by [/usr/bin/tpeap].
check omada
Starting Omada Controller. Please wait.
............
Started successfully.
You can visit http://localhost:8088 on this host to manage the wireless network.
Once the installation is complete, you’ll be able to access the Omada Network Controller in your browser
https://ip.add.re.ss:8043
http://ip.add.re.ss:8088
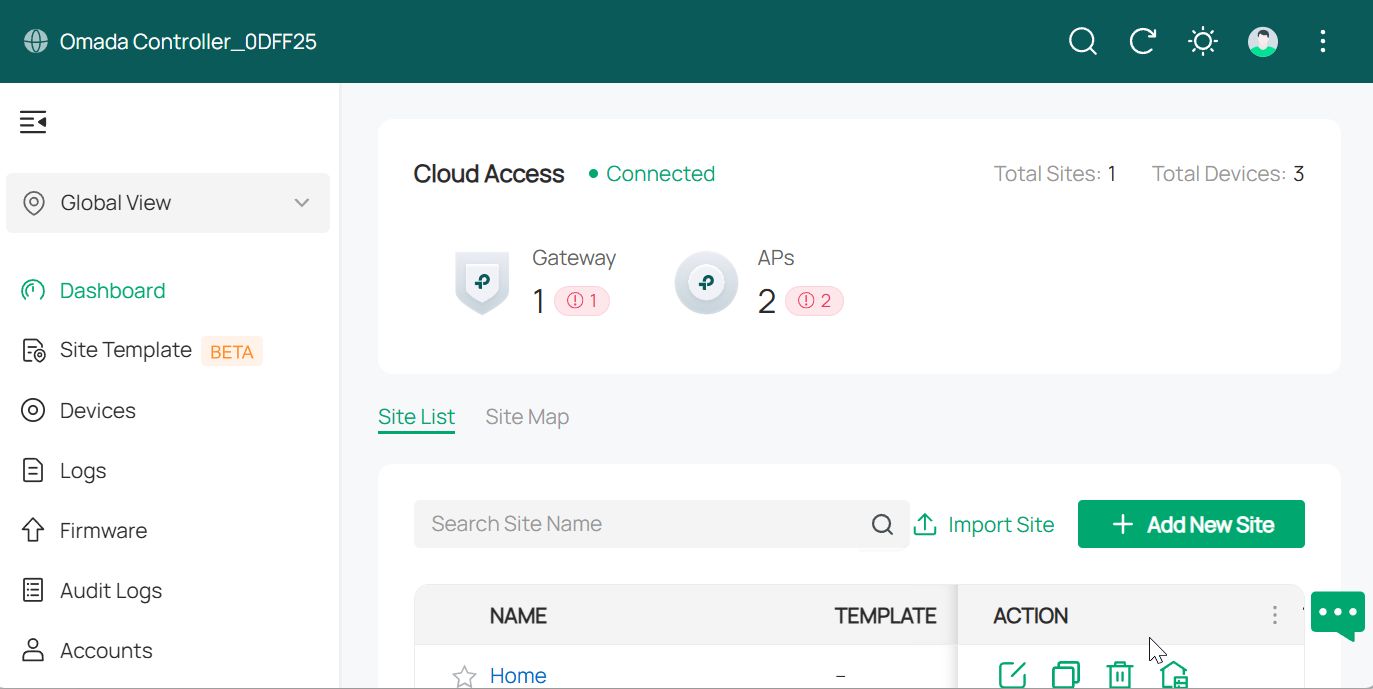
You should now be staring at the Omada Setup screen.